Migrating an existing contract to Godwoken
In this tutorial, we will guide users on how to quickly deploy a dapp locally and migrate it to Godwoken. If you want to understand the detailed composition and code meanings of the project structure, as well as how to deploy it to a real network before performing migration operations, you can refer to the tutorial on the official website of Hardhat for more detailed explanations.
Task Instructions
In this tutorial, we will learn how to deploy a smart contract to a local network and, once successfully deployed, deploy it to the Godwoken testnet using a web UI.
Prerequisites
To follow this tutorial you should have:
Tools:
- Metamask
- Terminal
Environment:
- Node JS
Get started with your dApp quickly
git clone https://github.com/NomicFoundation/hardhat-boilerplate
cd hardhat-boilerplate
npm install
├─ hardhat-boilerplate
│  ├─ contract <-- save contract `.sol` file
│  │  └─ Token.sol
│  ├─ script
│  │  └ Deploy.js <-- deploy contract to network
│  ├─ test
│  │  └ Token.js <-- Automated tests contract
│  └─ front-end <-- dapp Web frontend
1. Run hardhat Network
let's run Hardhat's testing network:
npx hardhat node
Then, on a new terminal, go to the repository's root folder and run this to deploy your contract:
npx hardhat run scripts/deploy.js --network localhost
Finally, we can run the frontend with:
cd frontend
npm install
npm start
Open http://localhost:3000/ to see your Dapp. You will need to have Metamask installed and listening to localhost 8545.
2. Add Godwoken Testnet and Localhost 8545 to Metamask
In MetaMask, click on "Add Network", then choose "Custom RPC" to manually add a network. Fill in the table below to add the "Godwoken Testnet" and "localhost 8545" networks. If you have already added the Godwoken Testnet during the previous steps, it's okay. This is just to confirm that you have the Godwoken Testnet network.
Godwoken Testnet:
| ITEM | Detail |
|---|---|
| Network Name | Godwoken Testnet v1 |
| RPC URL | https://v1.mainnet.godwoken.io/rpc |
| Chain ID | 71402 |
| Currency Symbol | pCKB |
Localhost:
| ITEM | Detail |
|---|---|
| Network Name | Localhost 8545 |
| RPC URL | http://localhost:8545 |
| Chain ID | 31337 |
| Currency Symbol | ETH |
3. Connect wallet and faucet
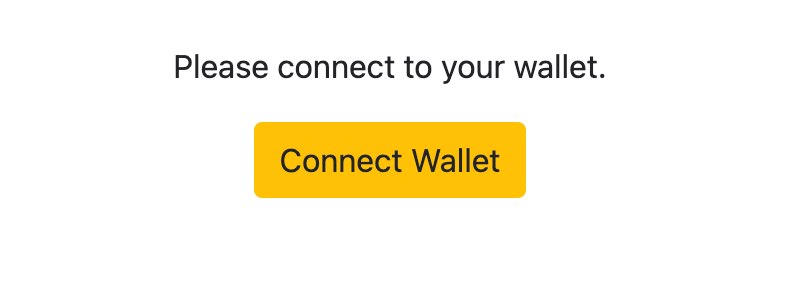
When you click to connect your Metamask wallet, you will see the following interface.
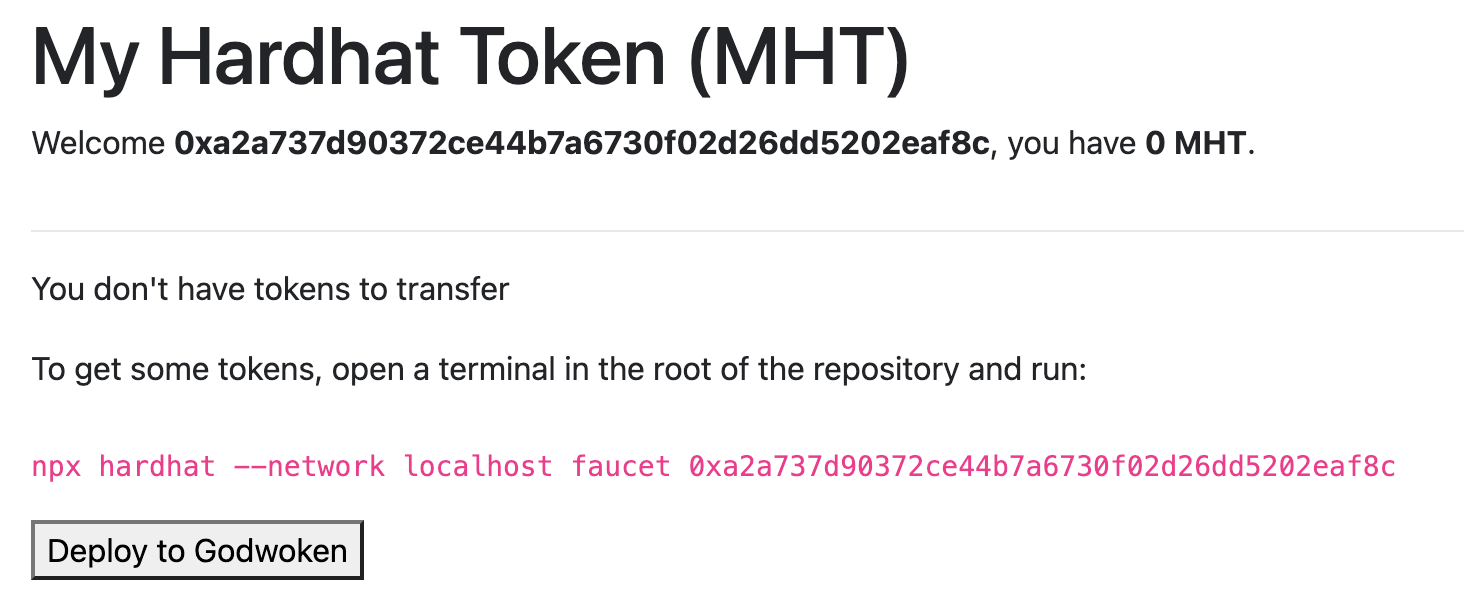
npx hardhat --network localhost faucet ${YOUR_ADDRESS}
Executing the above command can help you quickly obtain 1 ETH from the faucet for testing purposes.
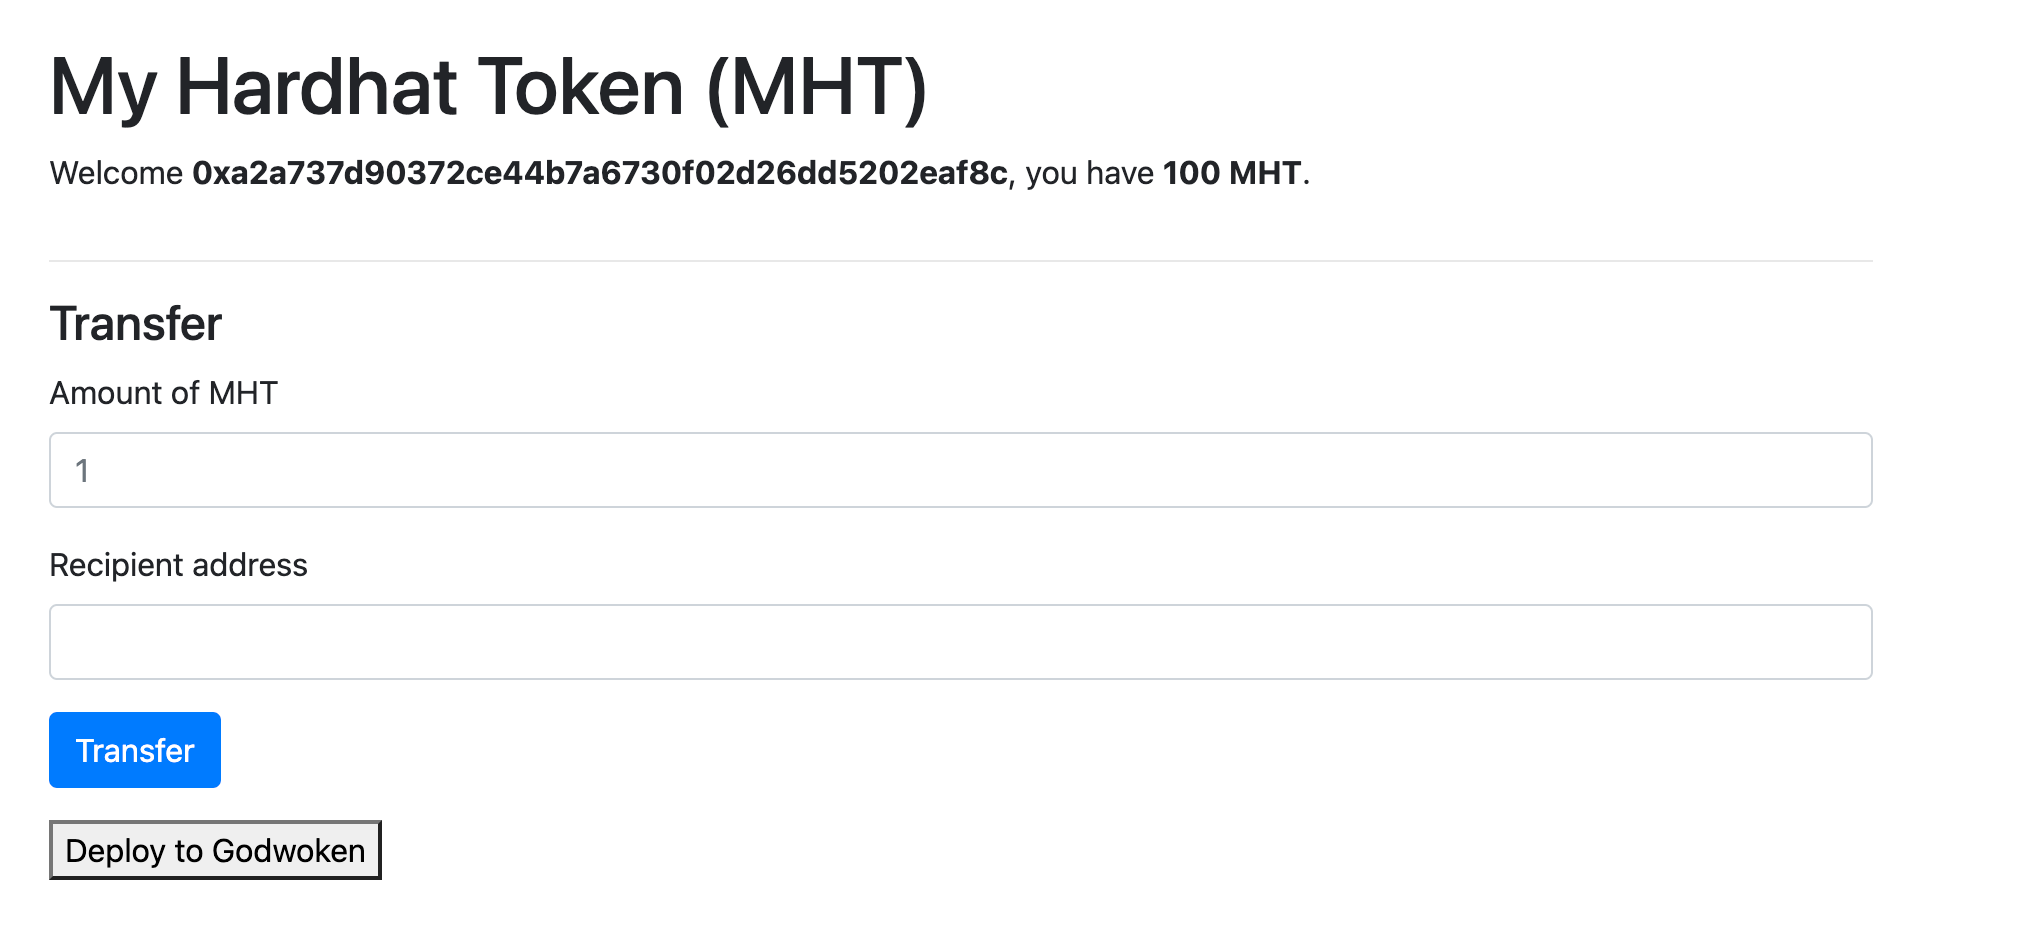
After completing the above steps, refresh the page, and the page will appear as shown in the following image.
If the Deploy to Godwoken button is not present on your page, don't worry. In the next step, we will add this button and the corresponding functionality to your code.
4. Deploy smart contract of this DApp to Godwoken using Web UI
In this step, we won't go into too much detail. We will quickly guide you through building and migrating smart contracts to another network. If you're interested, you can check the details of the hardhat-boilerplate for more information.
Now, let's modify the code of the hardhat-boilerplate and add the section for migrating smart contracts.
To add the following section in the React DOM ./hardhat-boilerplate/front-end/src/components/Dapp.js module:
<!--./hardhat-boilerplate/front-end/src/components/Dapp.js -->
<div className="row">
  <div className="col-12">
    <button onClick={() => this._deployToGodwoken()}>
      Deploy to Godwoken
    </button>
  </div>
</div>
Add wallet verification and contract migration functionality to a JavaScript module in the file
// ./hardhat-boilerplate/front-end/src/components/Dapp.js
async _deployToGodwoken() {
try {
// Set up provider and signer
const provider = new ethers.providers.JsonRpcProvider("https://v1.testnet.godwoken.io/rpc");
const web3 = new ethers.providers.Web3Provider(window.ethereum);
const signer = web3.getSigner();
// Get contract bytecode
const { bytecode } = TokenArtifact;
// Create contract factory
const factory = new ContractFactory(TokenArtifact.abi, bytecode, signer);
// Deploy the contract
const contract = await factory.deploy();
// Wait for it to be mined
await contract.deployTransaction.wait();
// Save contract address
const newContractAddress = contract.address;
contractAddress.Token = newContractAddress;
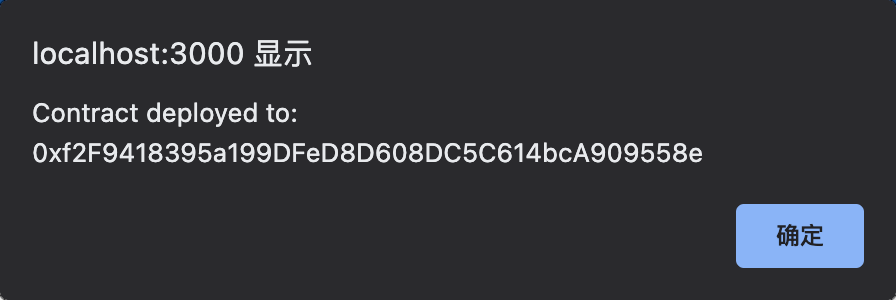
alert(`Contract deployed to: ${newContractAddress}`);
// Verify wallet after deployment
const walletIsValid = await this._verifyWalletAfterDeployment(signer);
console.log(`Wallet verification result: ${walletIsValid}`);
} catch (err) {
console.error(`Failed to deploy contract: ${err}`);
}
}
// Verifying the wallet by checking if it can retrieve its balance.
async _verifyWalletAfterDeployment(signer) {
try {
const balance = await signer.getBalance();
return balance.gt(0);
} catch (err) {
console.error(`Failed to verify wallet: ${err}`);
return false;
}
}
if you want to deploy to other network, just need to change the rpc url for this line
const provider = new ethers.providers.JsonRpcProvider("https://v1.testnet.godwoken.io/rpc");
When you click the "Deploy to Godwoken" button, you will receive a confirmation message from MetaMask for the signature, as shown in the image below. Please note that if you don't receive the message for a long time, you can proactively open MetaMask in your browser extension to check for any connectivity issues. After confirming that there are no issues, refresh the page and click the "Deploy to Godwoken" button again.
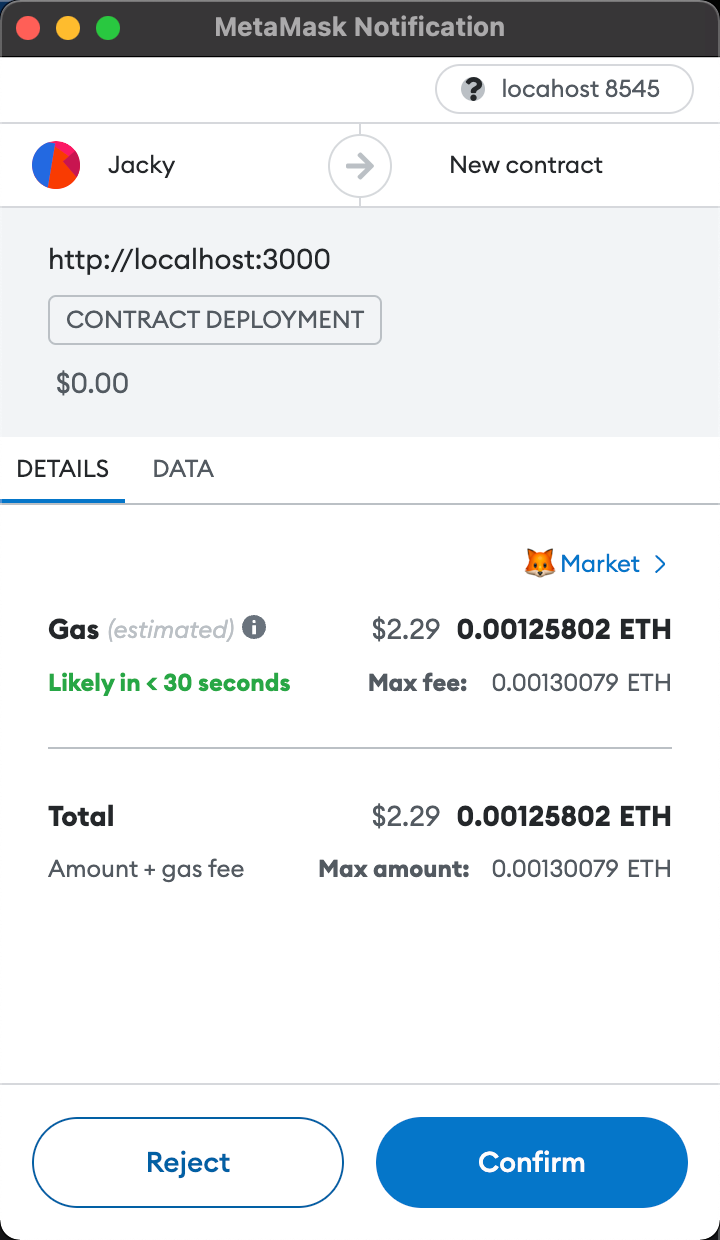
Once you confirm the signature, a popup will appear with the new address of the deployed contract.
Potential Errors and Solutions
- You might need to wait for MetaMask confirmation that your transaction has been included in a block before interacting with the contract. It can take about a minute.
- If you get a CORS error in your web browser's console, try searching your code for a Godwoken RPC URL that is not using https. Change any instances of http://v1.testnet.godwoken.io/rpc to https://v1.testnet.godwoken.io/rpc.
- There are a number of small differences that can potentially impact your application and cause problems if you're unaware of them. A list of these differences can be found here.