Developer Quick Start
Hello Godwoken
Welcome! This guide will help you delve quickly into building DApps on the Godwoken Layer 2 blockchain. To get up and running quickly, you will need to set up a network connection with Metamask wallet, and also get tokens transferred from the L1 to the L2 network.
Connect to Godwoken with Metamask
Ethereum developers who wish to build DApps on the Nervos Blockchain can achieve this by writing Solidity code and deploying it on the Nervos Layer 2 chain, named “Godwoken”.
Godwoken is an optimistic rollup solution built on Nervos layer 1 and EVM-compatible.
Godwoken aims to provide a solution for dApp builders who seek the advantages of Ethereum - it's build, good tools, and documentation - but not the drawbacks, such as network congestion, high gas fees, oversaturation, and scalability issues.
Developers who want to connect to the Godwoken chain can do so via Metamask wallet.
Here are the credentials that you will need:
| ITEM | Testnet | Mainnet |
|---|---|---|
| NETWORK NAME | Godwoken/PolyJuice Testnet | Godwoken/PolyJuice Mainnet |
| New RPC URL | https://v1.testnet.godwoken.io/rpc | https://v1.mainnet.godwoken.io/rpc |
| Chain ID | 71401 | 71402 |
| Currency Symbol | pCKB | pCKB |
| Block Explorer URL | https://v1.testnet.gwscan.com/ | https://v1.gwscan.com/ |
Below is a visual guide on how to connect Metamask to Godwoken:
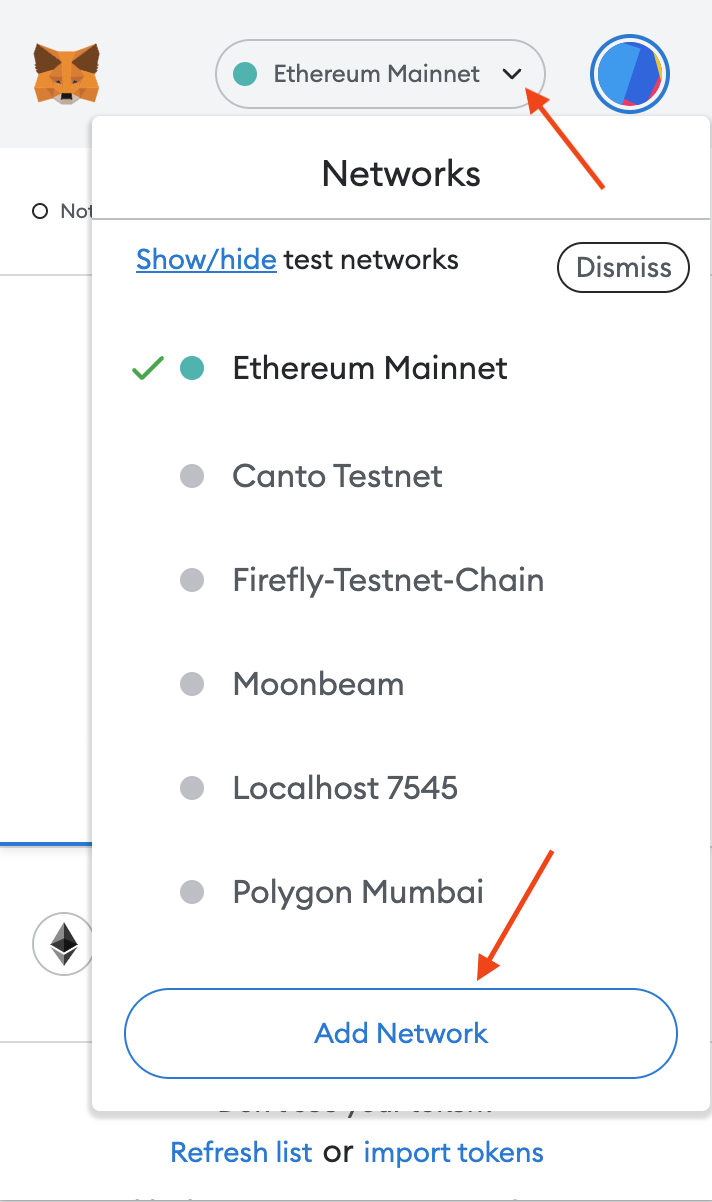
- Open the MetaMask app .
- Click on the dropdown with the Network Name to reveal all the available networks.
- Click on the button: “Add Network”
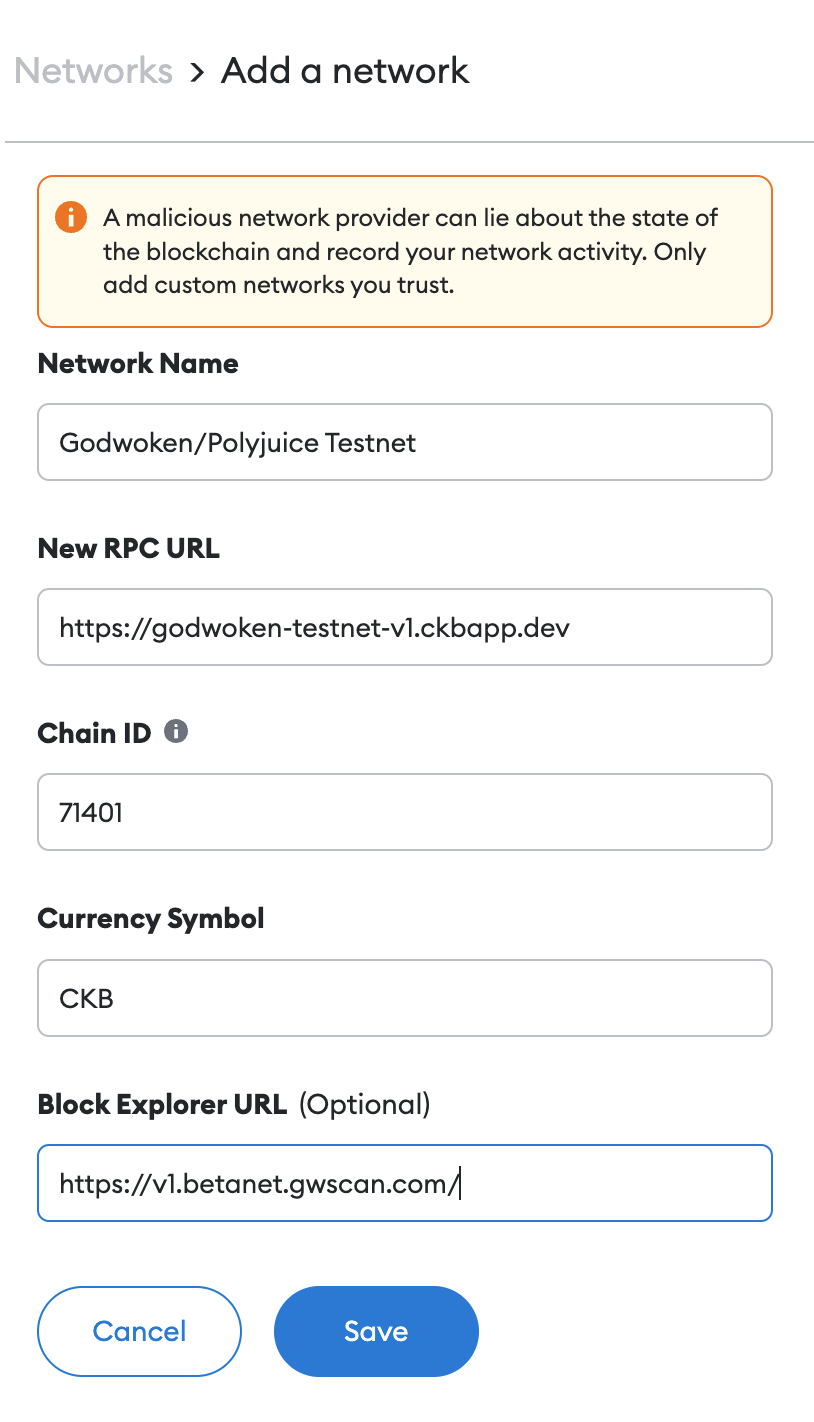
- Enter the credentials for Testnet to add the Testnet network.
- Click on “Save.”
You have added the Godwoken/Polyjuice Testnet. Repeat the same steps to add the Mainnet.
Transfer Tokens from Nervos L1 to L2
For developers building on the Godwoken EVM, your project might need some CKB tokens. At the time, there is no faucet for requesting test tokens on the L2 network. To get tokens, you will have to bridge CKB tokens from L1 to L2.
This guide is a walkthrough on the process.
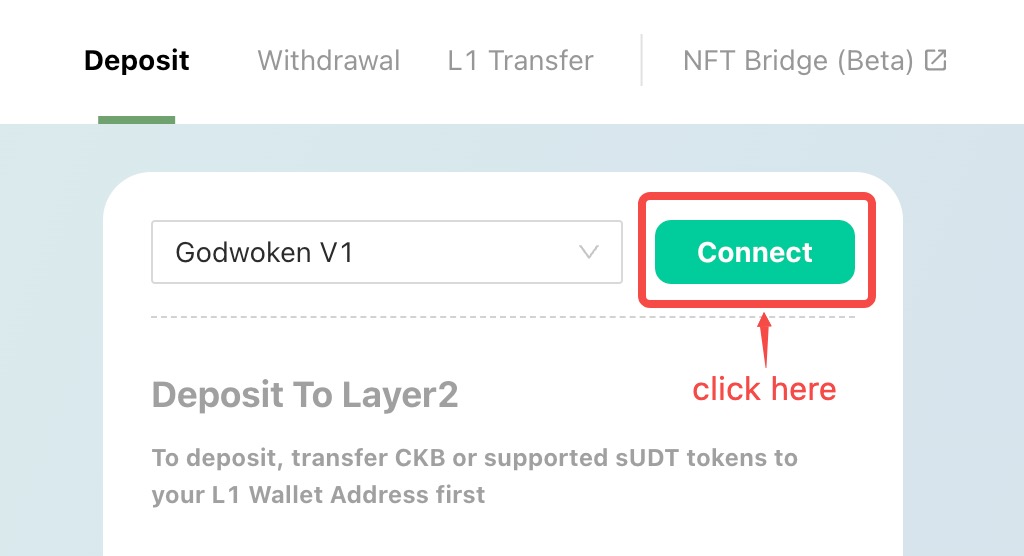
- Go to Godwoken Bridge Start by visiting testnet.bridge.godwoken.io. Make sure MetaMask wallet is installed in your browser.
Connect your MetaMask account to the page by clicking the "Connect" button.
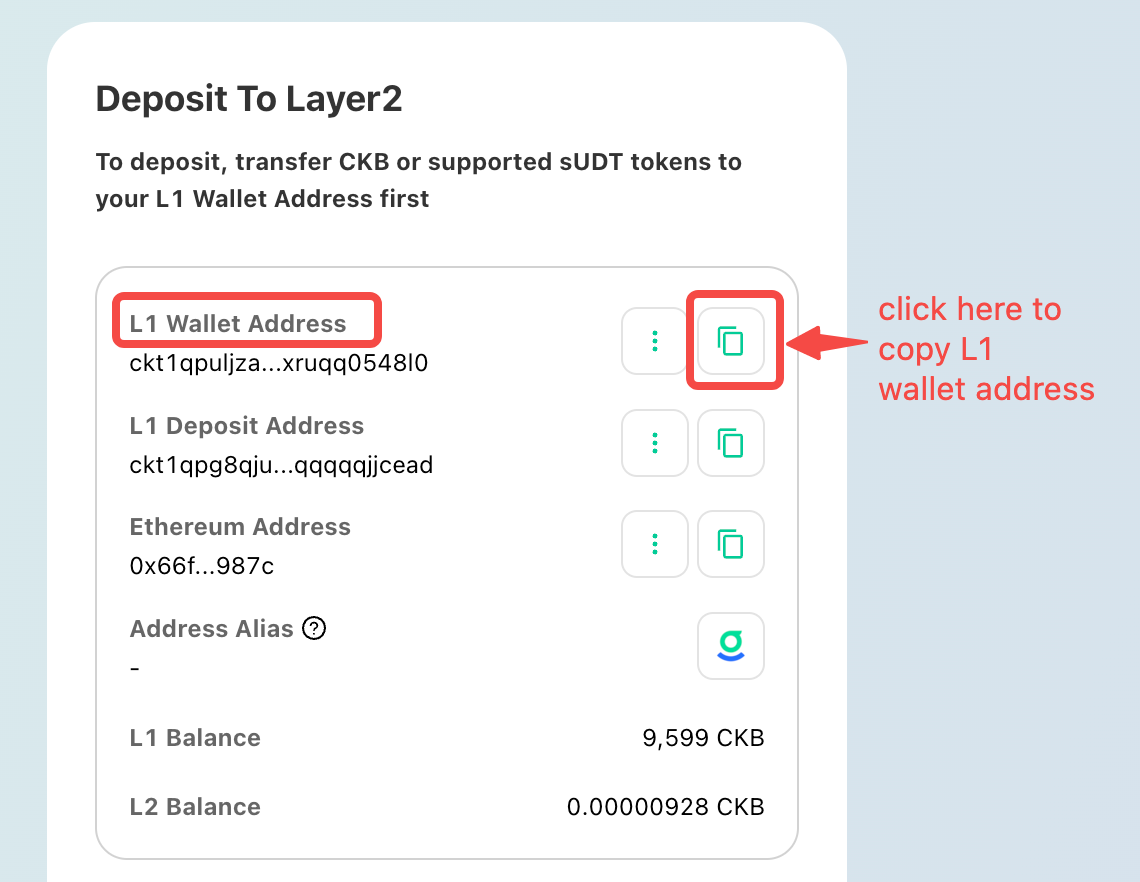
- Fund an Account with CKBytes on Layer 1
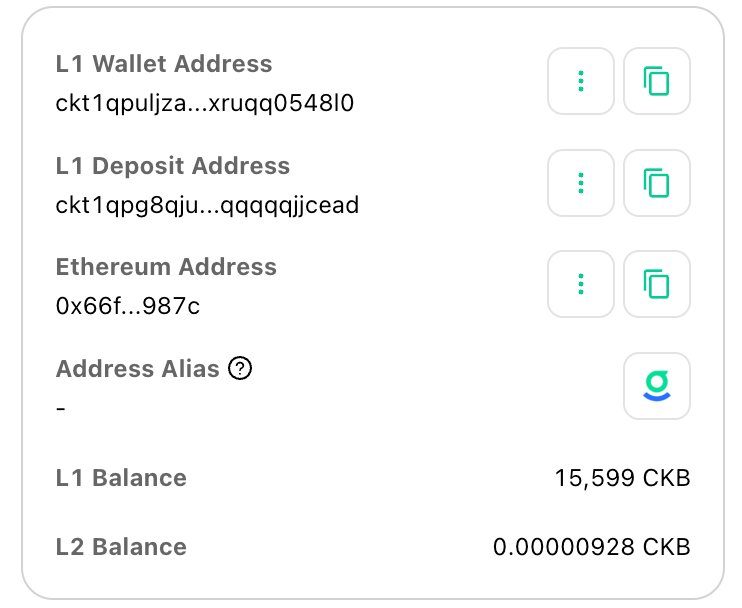
You have to fund your Layer 1 account. It will be the source of funds for your Layer 2 deposit. To accomplish this, click "Copy Address" to the right of "L1 Wallet Address".
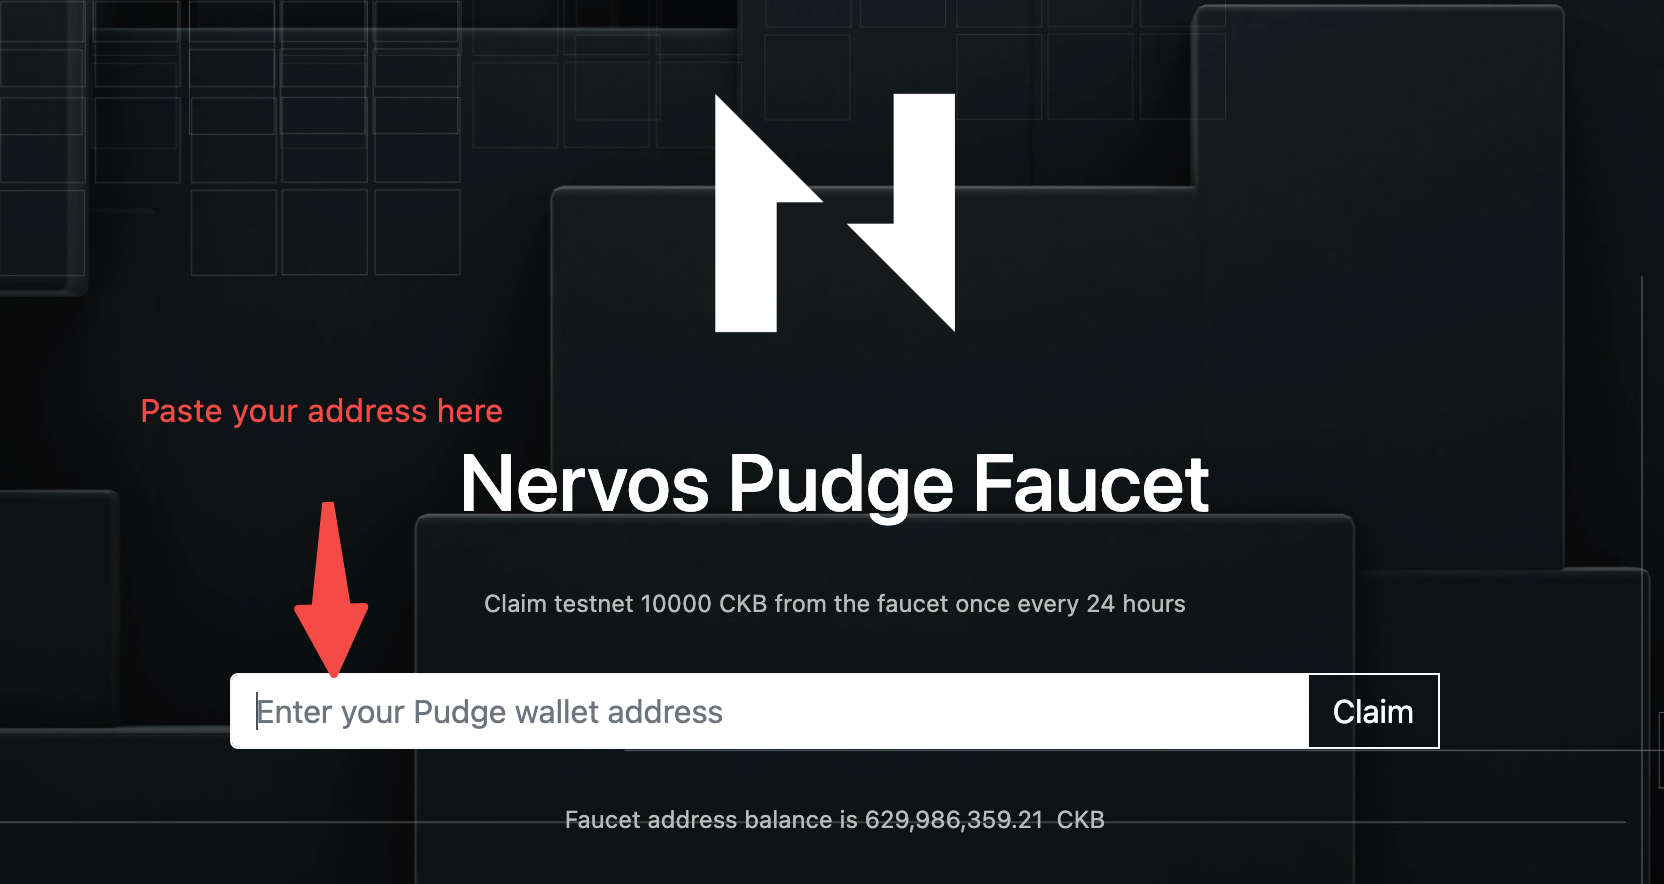
Now, visit the Layer 1 faucet where you can request Layer 1 testnet funds: faucet.nervos.org.
Paste the copied address into the faucet and click "Claim".
Now, wait for your Layer 1 transaction to be completed. You should see your transaction in the list in the middle of the page.
Note: this might take a min to process.
After using the Layer 1 faucet, your "L1 Balance" should be equal to "10,000 CKB" or more.
- Create Layer 2 Account
Make sure the previous step is complete, and your Layer 1 account is funded.
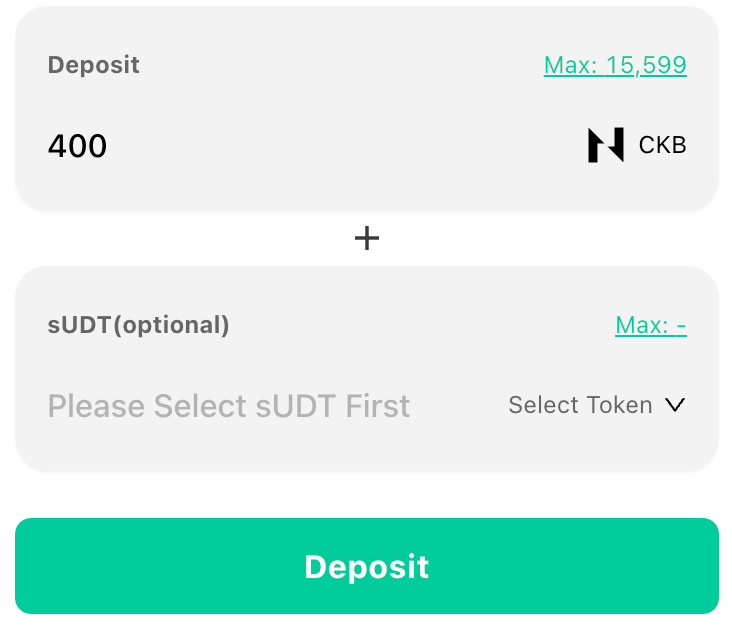
Now type minimum "400" in the "Deposit" field. Then click the "Deposit" button.
You will be asked to sign a message in your wallet. The process will begin after you sign. Your account should be created after a few minutes.
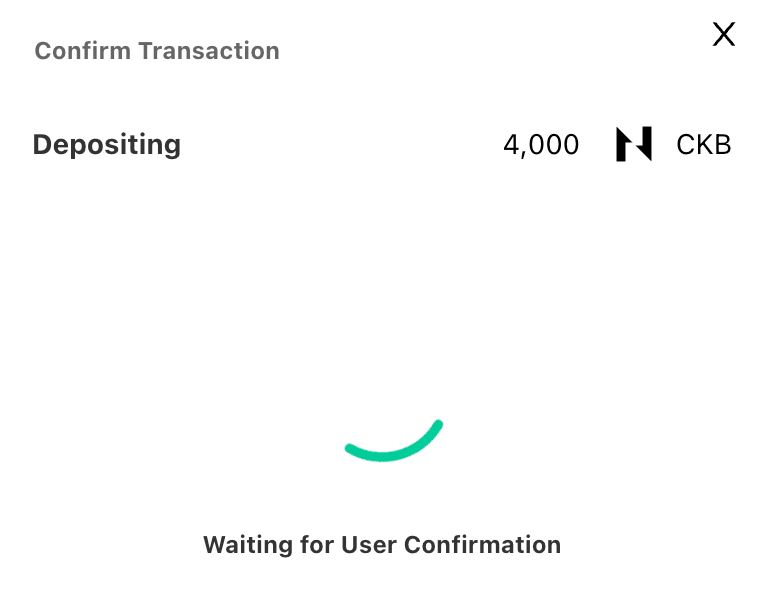
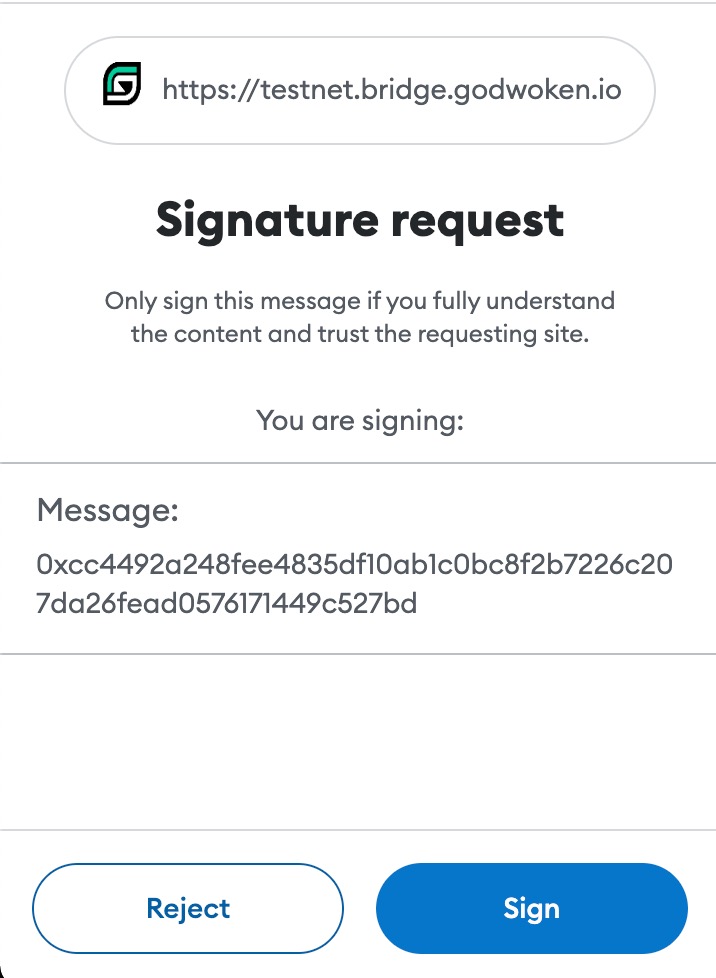
After you "Sign" the transaction, you should see your deposit in "Pending" transactions.
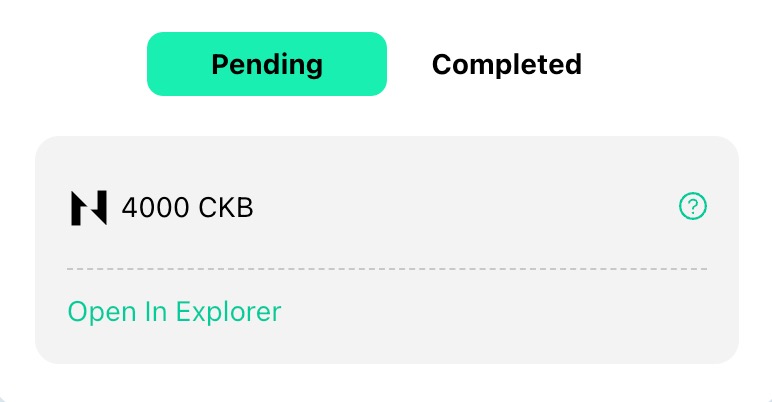
After a few minutes, your deposit should land in "Completed" transactions.
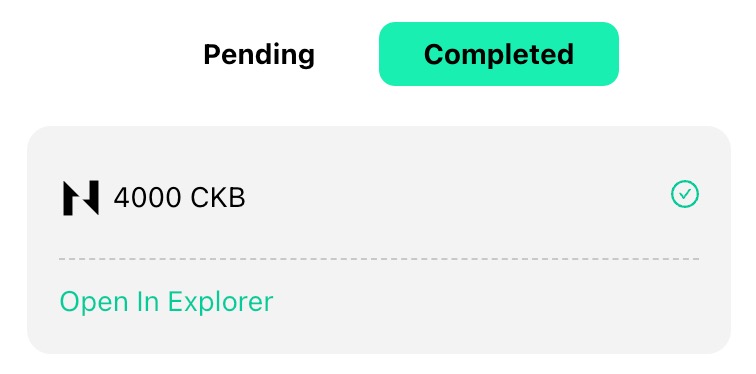
Congratulations! Your account is now created!
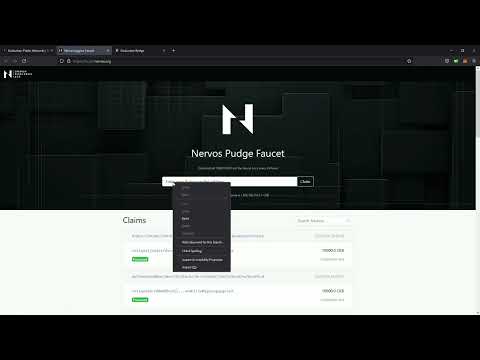
Here is a video walkthrough of the process:
Next Steps
Continue with the rest of the guides or dive into the L2 EVM Training